Sunday, March 30, 2025
Gear
Cold-Soak Cooking: No Stove, No Problem
Camping is all about stripping life down to its essentials—fresh air, open trails, and a night under the stars. But cooking on the trail? That can get complicated fast.
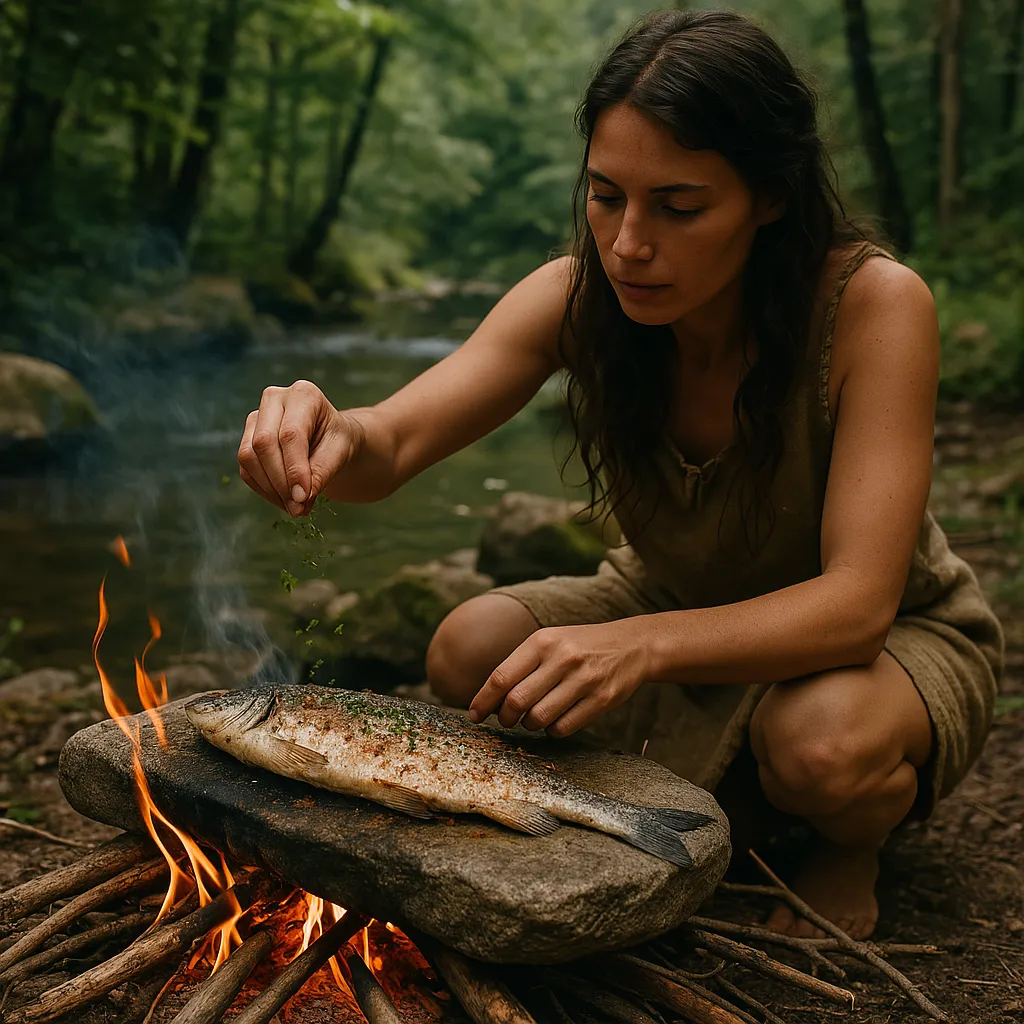
Stoves, fuel canisters, and pots add weight, bulk, and hassle to your pack. Enter cold-soak cooking: a lightweight, stoveless meal prep trend that’s turning heads among backpackers, thru-hikers, and minimalist campers. With nothing more than cold water and a little patience, you can enjoy hearty meals without lugging a burner or sparking a flame. This guide dives deep into cold-soaking—how it works, why it’s worth trying, and the best gear to make it happen.
What Is Cold-Soak Cooking?
Cold-soak cooking is as simple as it sounds: you rehydrate dry food with cold water, wait for it to soften, and eat. No stove, no fuel, no heat—just a container, water, and time. Think of it as the ultimate low-tech meal prep method for the wild. It’s not about cooking in the traditional sense; it’s about choosing ingredients that naturally rehydrate at ambient temperature, like instant oats, couscous, or dehydrated veggies. The process is straightforward:
Pick a lightweight, rehydratable base (e.g., ramen noodles or instant mashed potatoes).
Pour in cold water—enough to cover the food by about half an inch.
Seal it up and let it soak—anywhere from 10 minutes to a couple of hours, depending on the food.
Stir and dig in—no cleanup beyond a quick rinse.
It’s not a new idea—hikers have been soaking oats or trail mix for years—but it’s evolved into a deliberate strategy for shedding pack weight and simplifying camp life. Whether you’re trekking for days or just out for a weekend, cold-soaking offers a practical alternative to traditional cooking setups.
Why Go Stoveless?
The appeal of cold-soak cooking lies in its simplicity and efficiency. First and foremost, it’s ultralight. A typical camp stove weighs 2-6 ounces, plus 4-8 ounces for a fuel canister—add a pot (4-8 oz.), and you’re hauling over a pound just to heat water. Cold-soaking cuts that down to a single container, often under 2 ounces. For backpackers obsessed with base weight, that’s a game-changer.
It’s also budget-friendly over time. Beyond the initial gear (a jar or bottle), there’s no recurring cost for fuel. Ingredients like bulk couscous, instant rice, or ramen are dirt cheap—often under $1 per meal if you shop smart. Compare that to $5-$10 for a fuel canister every few trips, and the savings add up.
Then there’s the environmental angle. No fire or gas means no carbon emissions, no scorch marks on the ground, and less risk during fire bans—a big deal in dry seasons or protected areas. Plus, cold-soaking produces minimal odor, reducing the chance of attracting wildlife to your campsite.
Finally, it’s fast in its own way. You don’t cook in real-time—toss your ingredients in a jar at lunch, hike a few miles, and dinner’s ready when you stop. It frees you up to focus on the trail, not the kitchen. That said, it’s not perfect for everyone. Cold meals can feel lackluster in freezing weather, and some foods (like raw grains) won’t work without heat. But with the right setup, cold-soaking delivers where it counts.
How to Make It Work
Cold-soaking isn’t rocket science, but it does take some know-how to get right. Here’s a breakdown of the essentials—food choices, water safety, timing, and gear—plus tips to avoid common pitfalls.
Picking the Right Foods
Not everything rehydrates well in cold water. Stick to quick-soaking staples:
Instant Oats: Rolled or quick oats soften in 1-2 hours—add powdered milk and sugar for flavor.
Couscous: Tiny grains hydrate in 30-60 minutes; mix with spices or dried veggies.
Ramen Noodles: Break them up, soak for 10-20 minutes—perfect with soy sauce or peanut butter.
Dehydrated Beans or Veggies: Pre-cooked, dried options (not raw) take 1-2 hours.
Instant Mashed Potatoes: Flakes turn creamy in 15-30 minutes with a little stirring.
Avoid raw rice, pasta, or anything needing a boil—those stay crunchy without heat. Test at home first; soak times vary by brand and texture. Bulk-buying these at a grocery store keeps costs low, and single-serve packets (like ramen) are trail-ready.
Water Safety
Cold-soaking relies on water, so it has to be clean. If you’re pulling from a stream or lake, purification is non-negotiable—bacteria like E. coli don’t care if you’re not boiling it. A lightweight filter is your best bet (more on that below), or use pre-filtered water from a bottle. Aim for 1.5-2 times the food volume—too little, and it’s dry; too much, and it’s soup.
Timing It Right
Patience is key. Most cold-soak foods need 10 minutes to 2 hours:
Ramen: 10-20 minutes.
Instant potatoes: 15-30 minutes.
Couscous: 30-60 minutes.
Oats or beans: 1-2 hours.
Soak while you hike—clip the container to your pack—or start it at camp while you set up. Shake it occasionally to mix; a sealed lid prevents spills. In hot weather, eat within a few hours to avoid spoilage; in cold, it’ll keep longer but may need extra soaking time.
Avoiding Pitfalls
Start small—overpacking food leads to mushy leftovers you’ll have to pack out. Taste-test recipes beforehand; some dehydrated mixes get gritty without heat. And in freezing temps, insulate your container (e.g., in a sock) to keep water liquid—cold-soaked oats at 20°F are an acquired taste.
The Gear You’ll Need
Cold-soaking’s beauty is its minimal gear list: a container, a spoon, and a water filter. I’ve picked top options based on camper feedback and confirmed they’re in stock on Amazon USA as of March 30, 2025. Prices reflect current listings.
Talenti Gelato Jar (DIY Option)
Specs: 1.5 oz., 473ml (16 oz.) capacity, plastic with screw-on lid.
Why It’s Great: This repurposed ice cream jar is a ultralight favorite—cheap, durable, and wide-mouthed for scooping. The lid seals tight, keeping water in and dirt out.
How to Use: Eat the gelato, wash it, and it’s ready. Holds a full meal (e.g., 1 cup couscous + water).
Link: Talenti Gelato, Sea Salt Caramel, 1 Pint - $5.99 (eat and reuse).
Tip: Soak-proof up to 2 hours; hand-wash to reuse indefinitely.
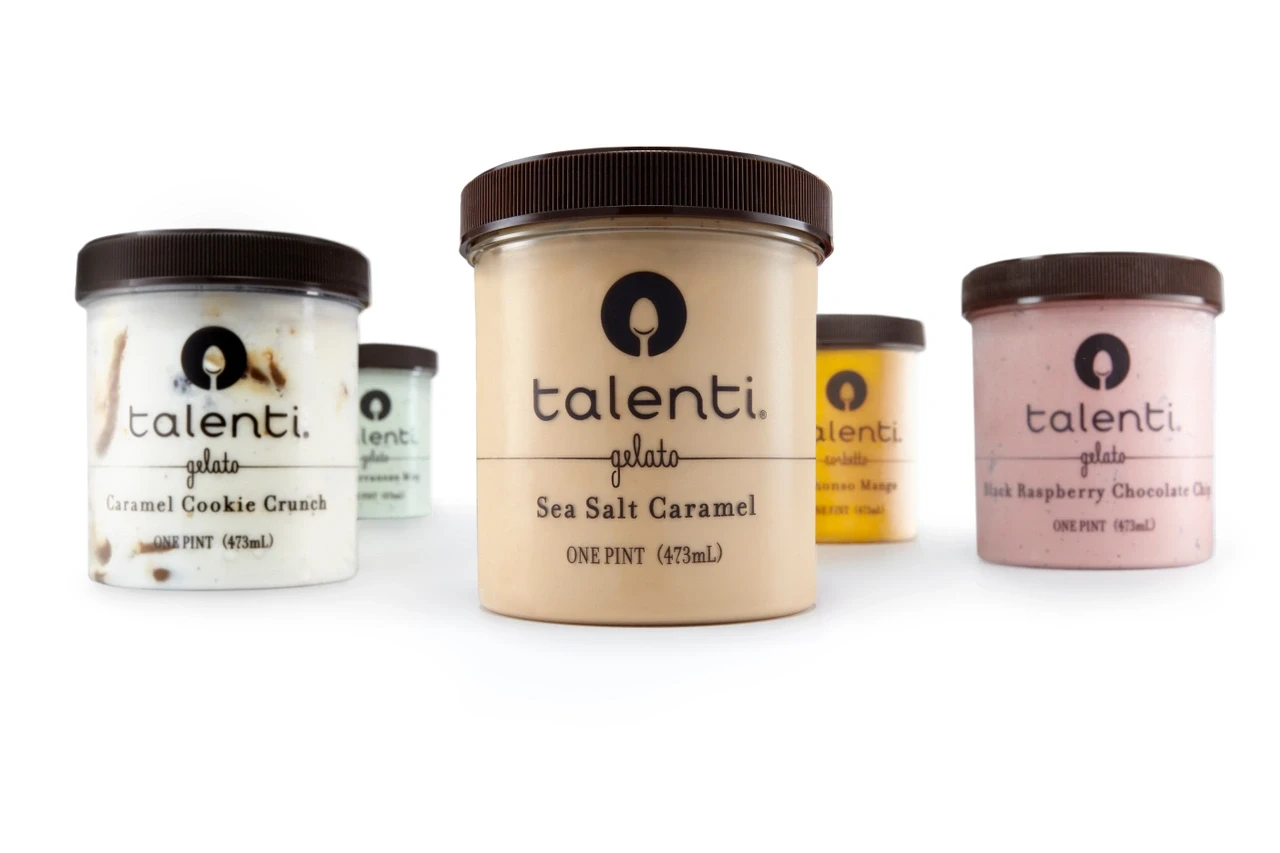
(Image coutesy of New Hope Network)
Vargo Bot 700
Specs: 4.2 oz., 700ml capacity, titanium with screw-top lid.
Why It’s Great: This premium container is tough as nails—drop it, dent it, it still works. The larger size fits hearty portions, and the watertight seal handles long soaks.
How to Use: Perfect for oats or beans; doubles as a pot if you ever go back to stoves.
Link: Vargo Bot 700 Titanium - $99.95.
Tip: Pricier but worth it for durability; cleans with a quick rinse.
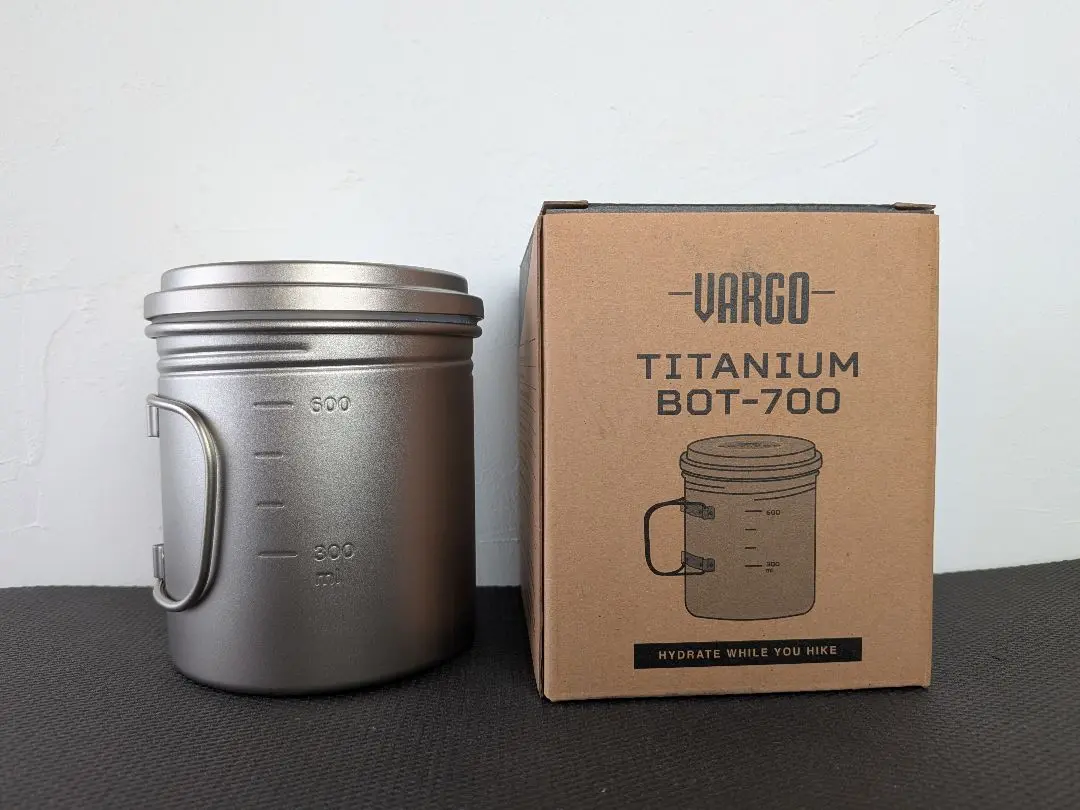
(Image coutesy of GIP)
GSI Outdoors Santoku Knife Set
Specs: stainless steel blades perfectly rockered for kitchen prep.
Why It’s Great: Safe-handling with protective sheaths and sure-grip rubber handles; Sheaths also preserve blade sharpness, adding long-last durability.
Link: GSI Outdoors, Santoku Knife Set - GSI Outdoors, Santoku Knife Set - $44.95
Tip: Prep breads, meats, vegetables, fruits, and more.
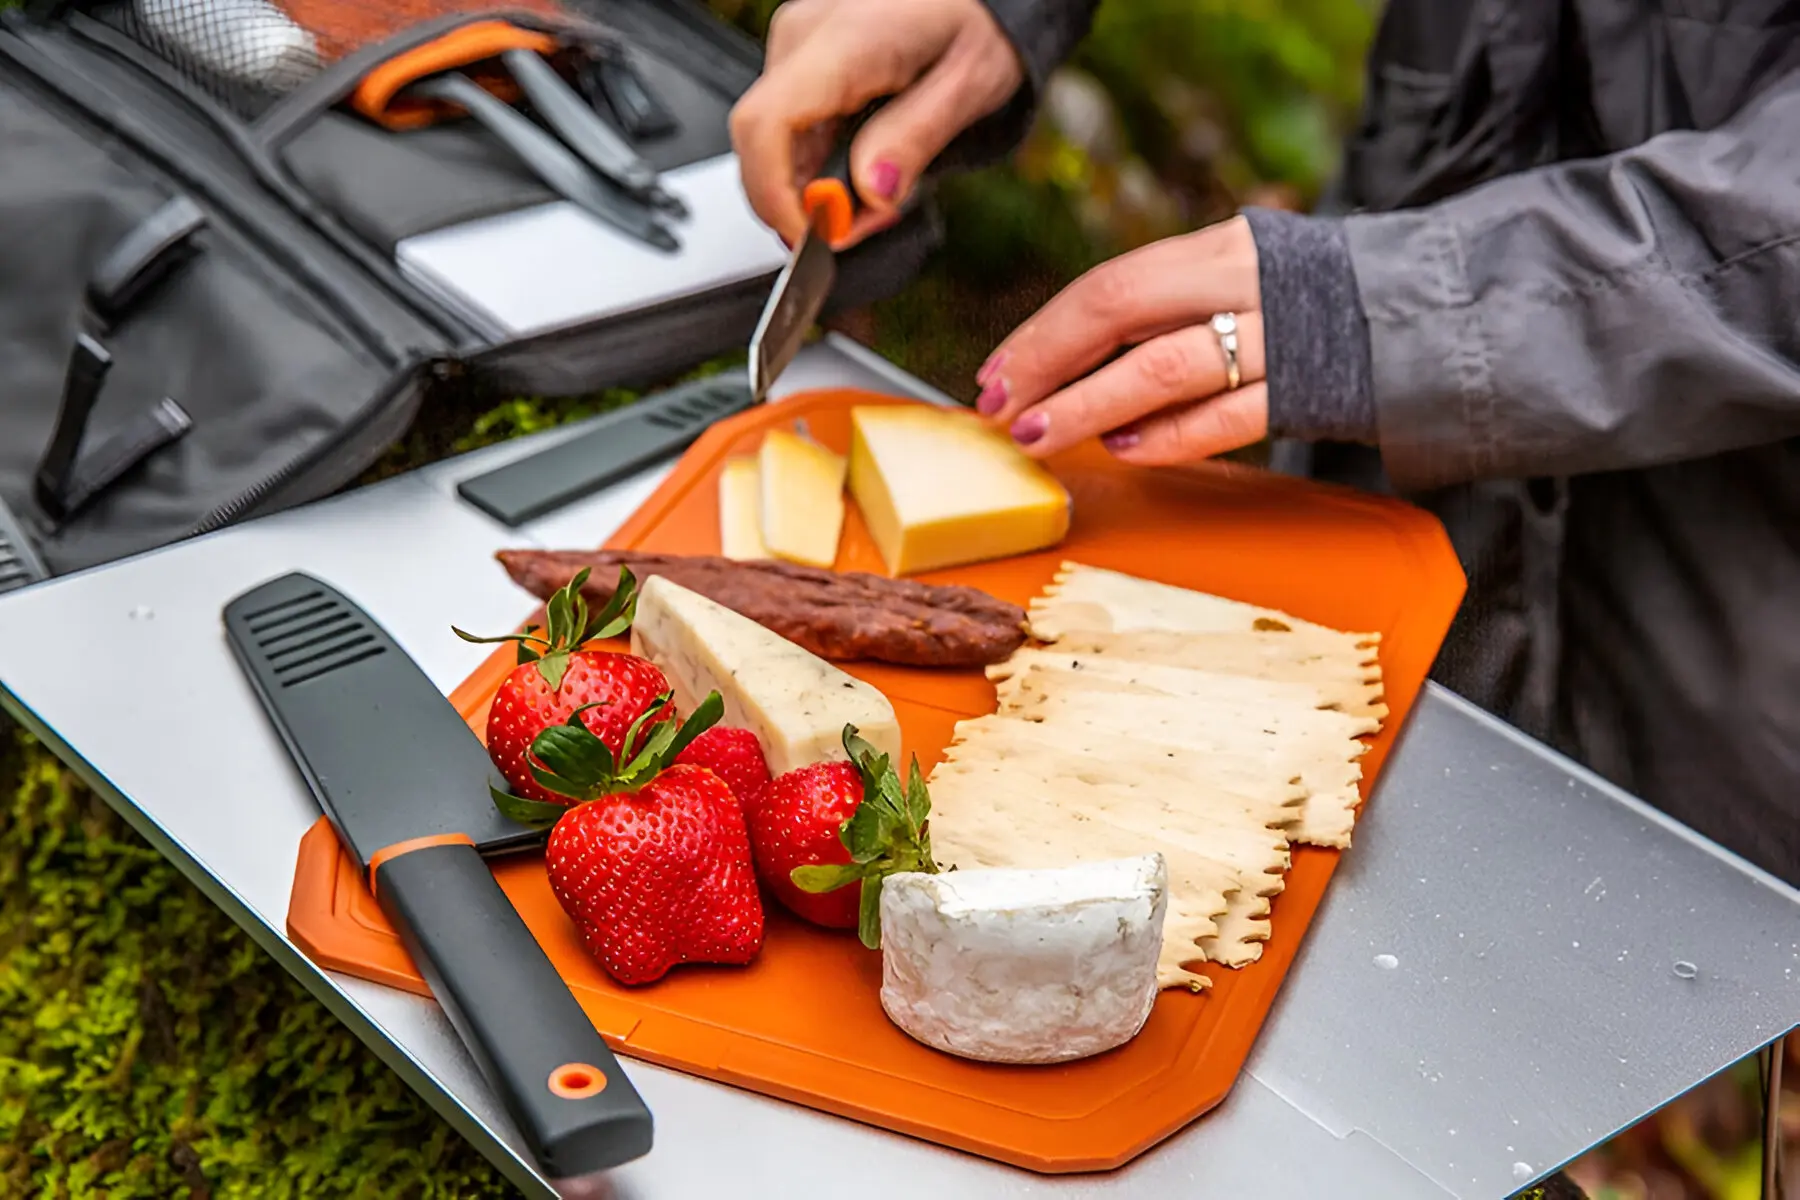
(Image coutesy of GSI Outdoors)
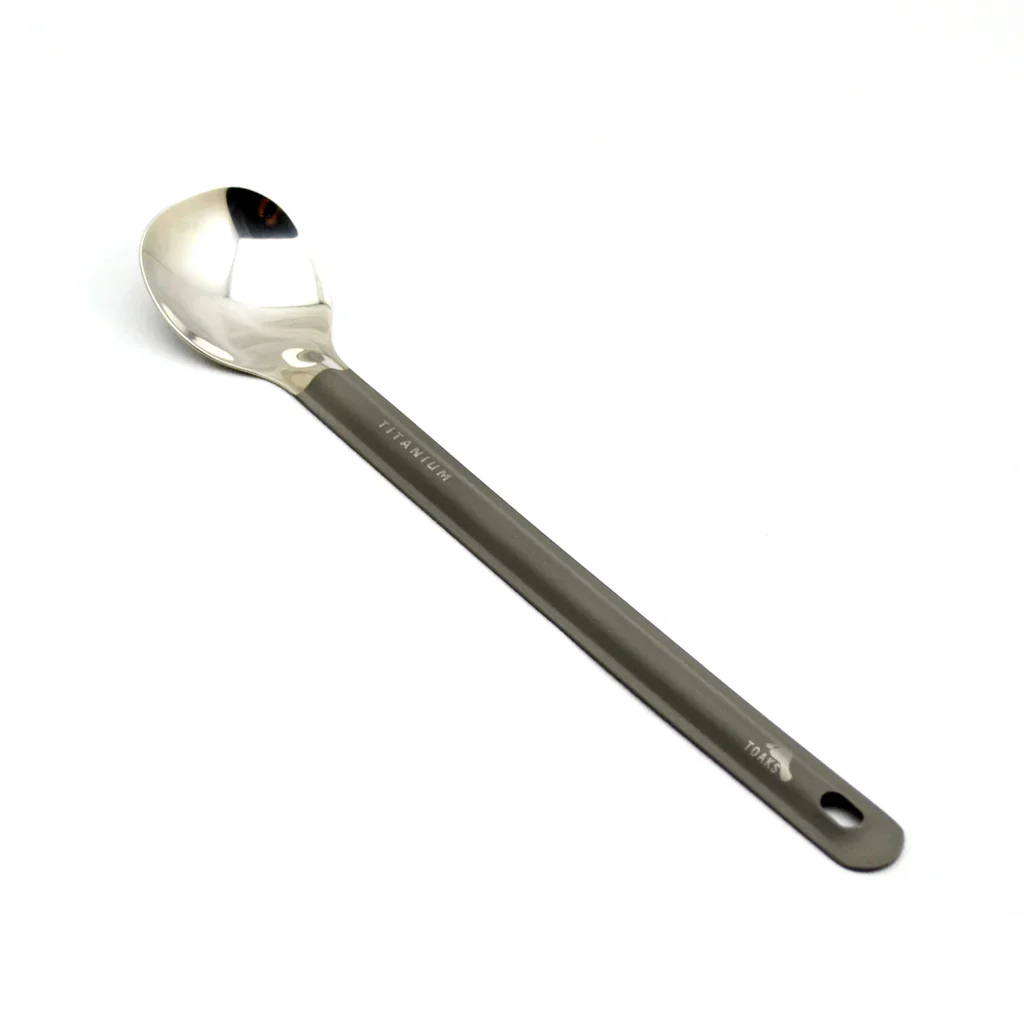
Toaks Titanium Long Handle Spoon
Specs: 1.2 oz., 8.7 inches long, titanium with polished bowl.
Why It’s Great: Long enough to reach the bottom of any jar, light enough to forget it’s there. The polished end won’t scrape your mouth—a small but real perk.
Link: Toaks Titanium Long Handle Spoon - $10.95.
Tip: Durable for years; wipe clean with a cloth.
(Image coutesy of TOAKS)
Sawyer Squeeze Water Filter
Specs: 3 oz., filters 0.1 microns, lifetime warranty (up to 100,000 gallons).
Why It’s Great: Essential for safe cold-soaking, this filter removes bacteria and protozoa from wild water sources. It’s compact and screws onto bottles or squeezes into jars.
How to Use: Fill from a stream, filter into your container, soak worry-free.
Link: Sawyer Squeeze Water Filter - $36.95.
Tip: Backflush monthly to maintain flow; beats boiling for weight.

(Image coutesy of Cleve Hiker)
Cold-Soak Recipes to Try
Trail Mocha Oats
Ingredients: ½ cup instant oats, 1 tbsp powdered milk, 1 tsp cocoa powder, 1 packet instant coffee.
Method: Mix dry, add ¾ cup water, soak 1-2 hours. Stir and enjoy a caffeinated breakfast.
Couscous Taco Bowl
Ingredients: ½ cup couscous, 2 tbsp dehydrated black beans, 1 tsp taco seasoning, 1 salsa packet.
Method: Combine, add 1 cup water, soak 1 hour. Spicy, filling, and mess-free.
Ramen Peanut Crunch
Ingredients: 1 pack ramen (discard seasoning), 1 tbsp peanut butter, 1 tsp soy sauce, 1 tbsp crushed peanuts.
Method: Break noodles, add ¾ cup water and sauces, soak 15-20 minutes. Top with peanuts.
Does It Really Work?
Absolutely—if you plan it right. Cold-soaking delivers on weight savings and simplicity, with containers as light as 1.5 oz. beating a 1-lb. stove setup. It’s practical for warm weather or long days when you’d rather hike than cook, and the low-impact vibe fits eco-conscious camping. Taste-wise, it’s solid—oats turn creamy, couscous stays fluffy—but texture matters. Test your recipes; some dehydrated mixes get grainy without heat.
The downsides? Cold meals can feel underwhelming below freezing—imagine chewing chilled ramen at 10°F. Soak times also stretch in cold weather, and raw grains like rice won’t cut it. But for summer treks or ultralight missions, it’s a winner. Campers report loving the freedom—no stove to fiddle with, more time to enjoy the wild.
Tips for Success
Prep Ahead: Portion ingredients into bags at home—dump, soak, eat.
Timing: Start soaking mid-hike; clip the jar to your pack with a carabiner.
Flavor Boost: Pack spices, hot sauce, or dried herbs—small weight, big payoff.
Clean Water: Filter every time; a Sawyer Squeeze is lighter than boiling gear.
Test First: Try it in your backyard—adjust soak times to your taste.
Why Cold-Soaking Stands Out
Cold-soak cooking isn’t just a gimmick—it’s a shift in how we think about camp meals. It trades heat for simplicity, weight for freedom, and fuel for ingenuity. At under 10 oz. total (jar, spoon, filter), it’s lighter than most stove setups, cheaper than constant canister refills, and kinder to the planet. It’s not for every trip—hot soup still wins on a snowy night—but for lightweight adventures, it’s hard to beat.
Get Started
Ready to ditch the stove? Toss in some oats or ramen, and you’re set for stoveless meals that weigh next to nothing. Cold-soaking’s low-effort vibe lets you focus on the trail, not the kitchen. Start small, tweak your recipes, and see why this trend’s taking off—no stove, no problem.